
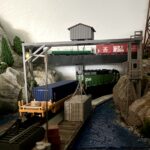


The weather this Memorial Day weekend was not suitable for outside activities so spent a bit of time working on our RRinaBox layout. We have the RRinaBox Horned Owl Quickline kit and used spray foam to create the mountain on module D a few weeks ago, so just expanding the rocky mountain scenery on to module C.
Here is the list of materials used for this:
- Gaps and Cracks Spray Foam Insulation purchased from Lowe’s
- Woodland Scenics Gray Blend Ballast – Fine, Medium, and Coarse from Amazon
- Woodland Scenics Blended Turf – Green Blend and Earth Blend from Amazon
- Woodland Scenics Clump Foliage, Light Green, Medium Green, and Dark Green from Amazon
- Model Trees 1.36-6 inch Mixed Model Tree Train Scenery from Amazon
- Elmer’s Glue All White Glue, hobby paints, paint brushes
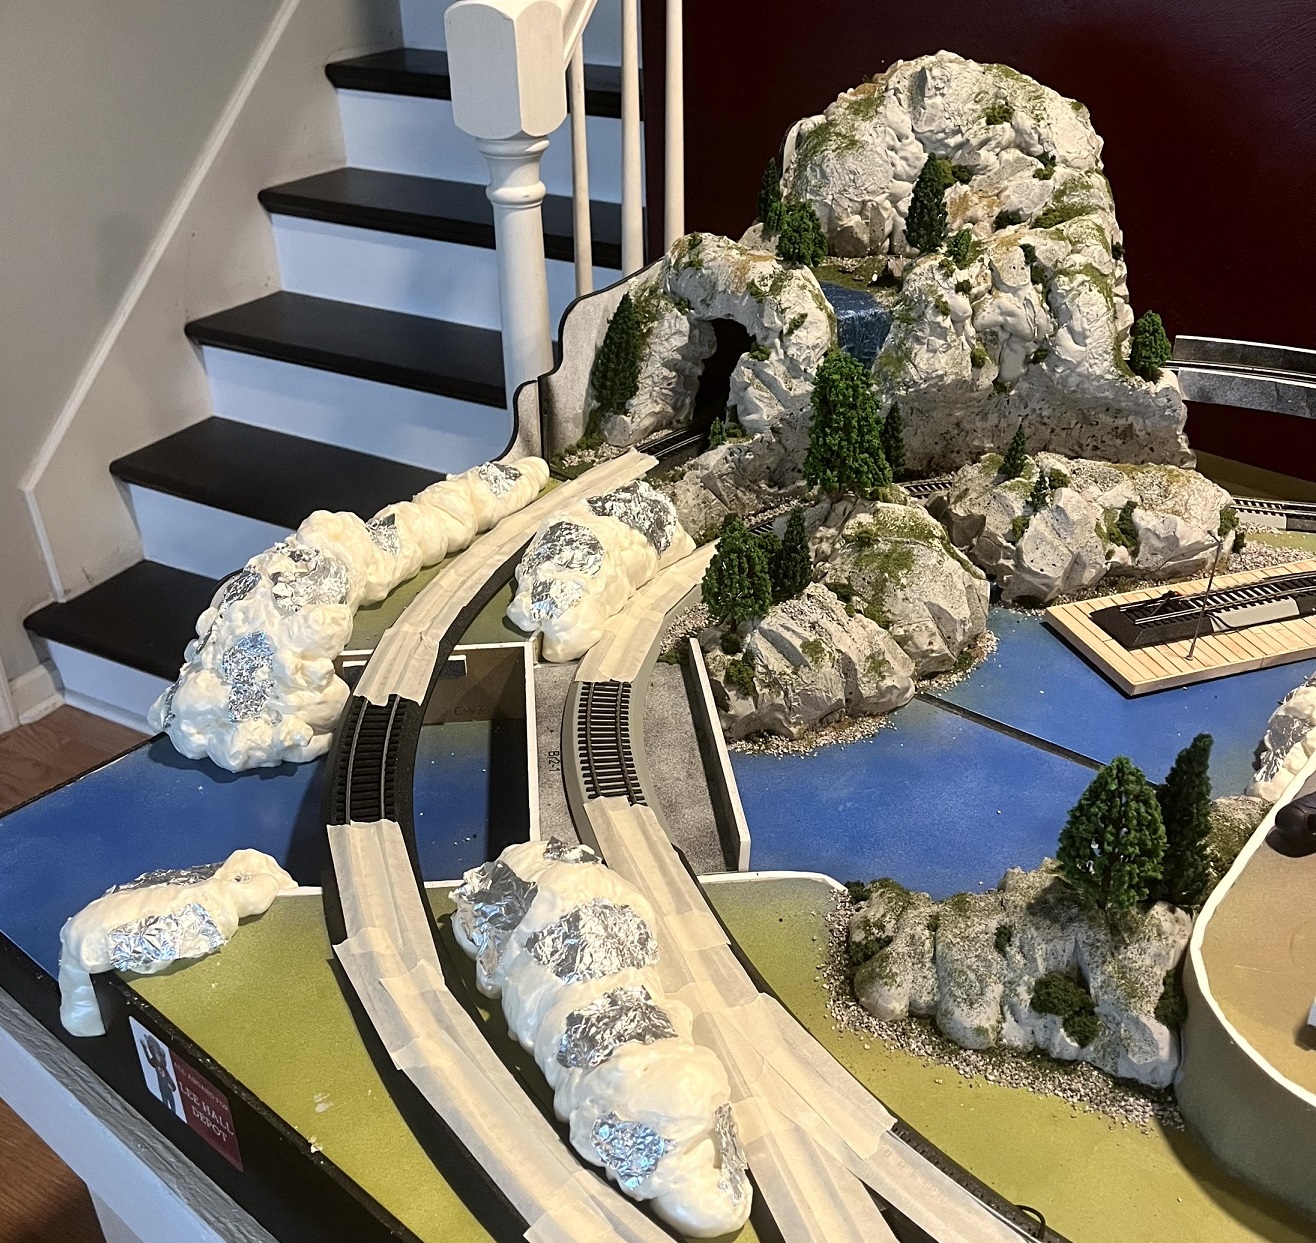
Taped up the track with painters tape were work is happening to make sure none of the sticky spray foam goops up the rails. Used spray foam to build up the mountain terrain. A little bit of crinkled up aluminum foil adds some rocky looking details.
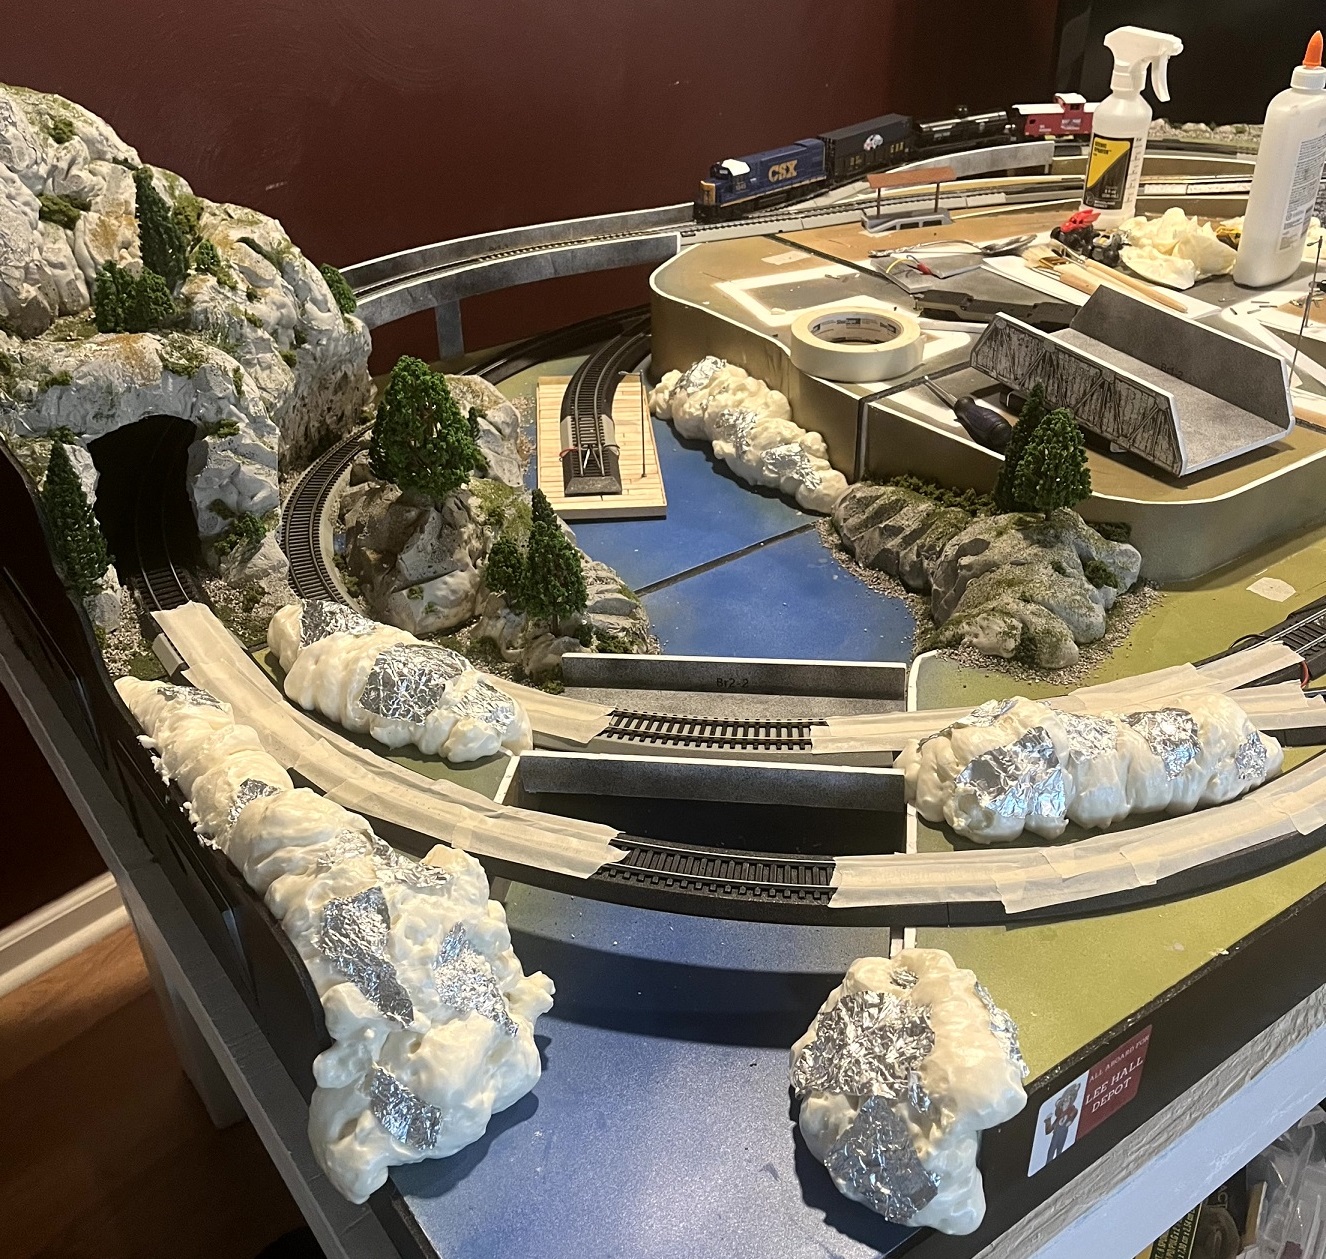
The spray foam expands pretty quick. Worked slow with short squirts to build it up. While the foam is still sticky add the aluminum foil here and there… no real rhyme or reason for the aluminum foil placement, just here and there. It took about 2 cans of spray foam for the mountain and almost 2 cans of spray foam to do these additional features (and some on the base of the mountain on module B – just cause I did not want to waste the foam).
The spray foam insulation is really sticky and very messy. Try not to get it on your hands or anything else you do not want it to stick to. If you do get it on your hands acetone will help clean it up, but it will take a few rounds of it. Don’t wear good close, if you get the stuff on your clothes and it dries I am not sure there is a way to get it out. Tape the track so it does not get on the rails or between the rails and the road bed.
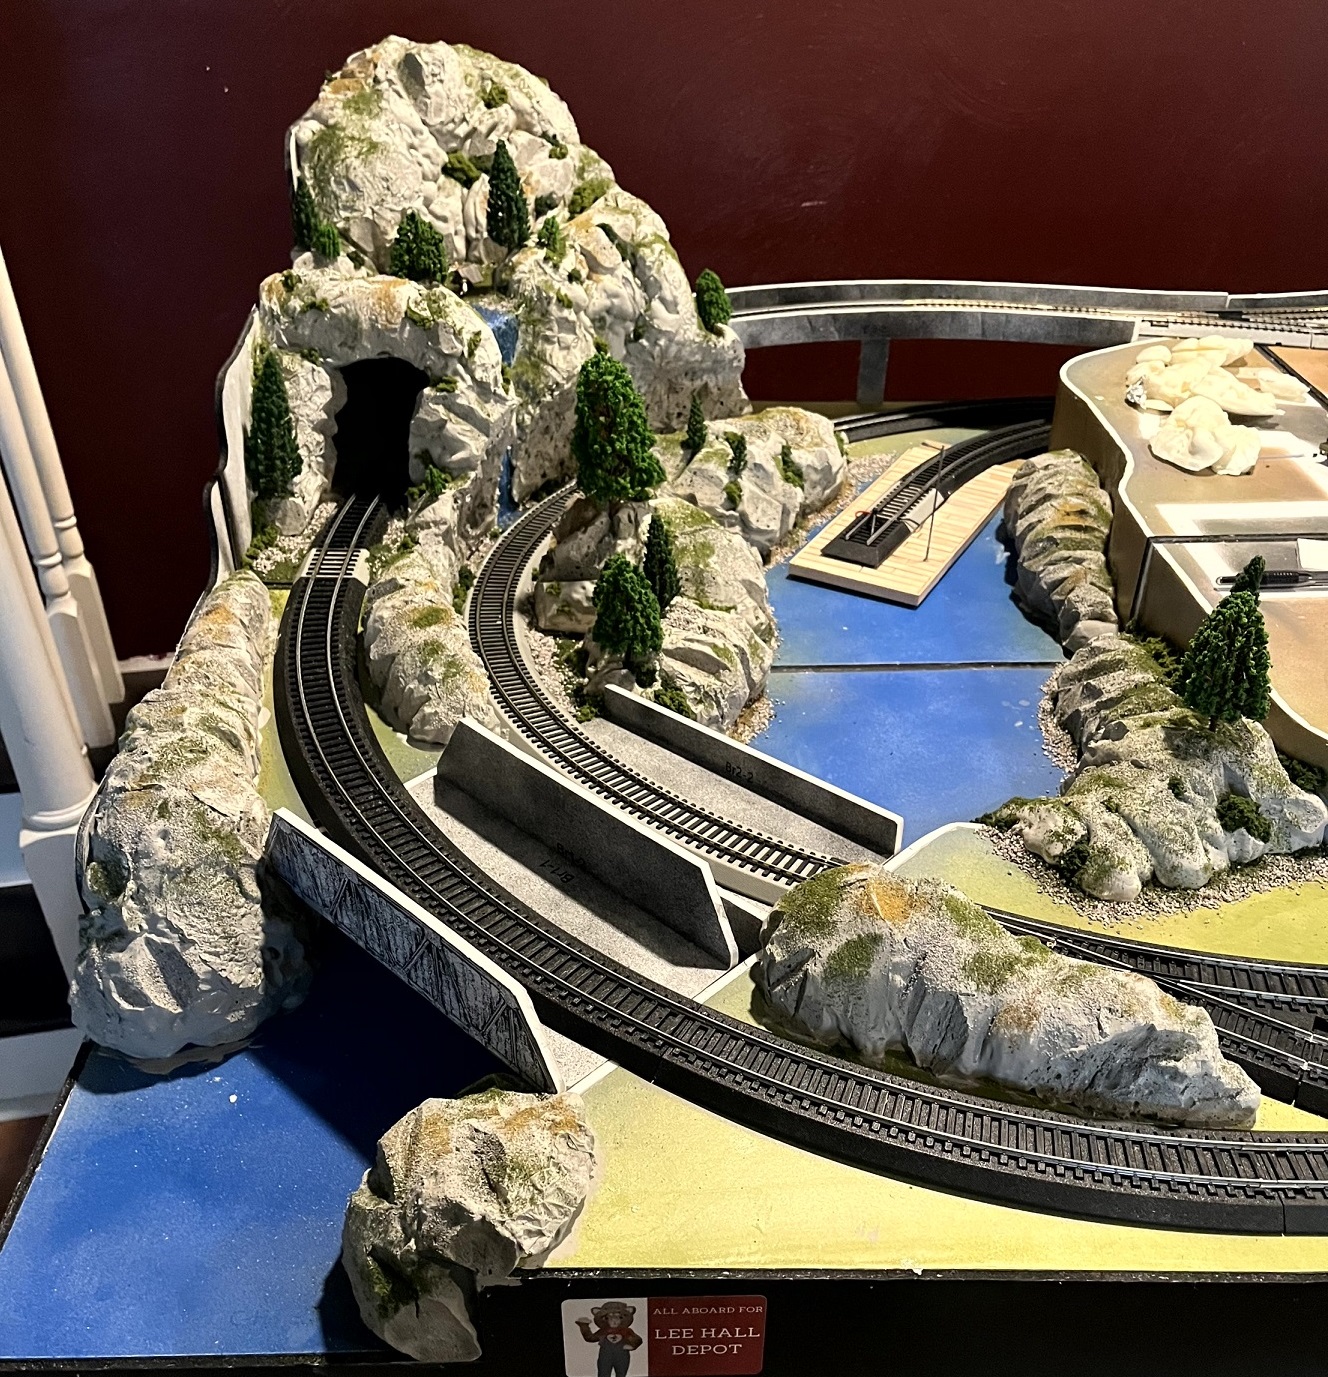
The spray foam takes a while to dry, best to let it cure overnight. Once the foam is dry carve out the clearance on the tracks, cut off anything that was sticking out or looked “unnatural”, and just added some cuts here and there to make it “look” like rock.
Once happy with how the terrain features are shaped, we tested clearance to make sure the trains could run on both lines. Then we painted the spray foam gray and added some texture using Woodland Scenics Gray Blend Ballast, the medium and fine ballast work best for this, and Woodland Scenics Blended Turf. Adding the texture and turf while the paint is still wet so the paint will act as a glue.
After painting and adding the texture we tested the trains again, just to double check there was no clearance issues (plus we like running the trains).
After a few test runs we taped up the tracks again to add some more details. Added ballast to the edge of the track and around the spray foam terrain. Adding a little blended turf, both green and earth, to mimic the look of grass growing in the ballast. Then we added some “bushes” using Woodland Scenics Clump Foliage.
For the shrubs we just use a dab of glue and then gently push a piece of clump foliage onto the glue drop. We try to randomly pick from the light, medium, and dark green foliage.
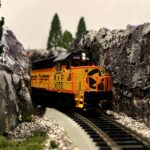
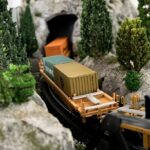
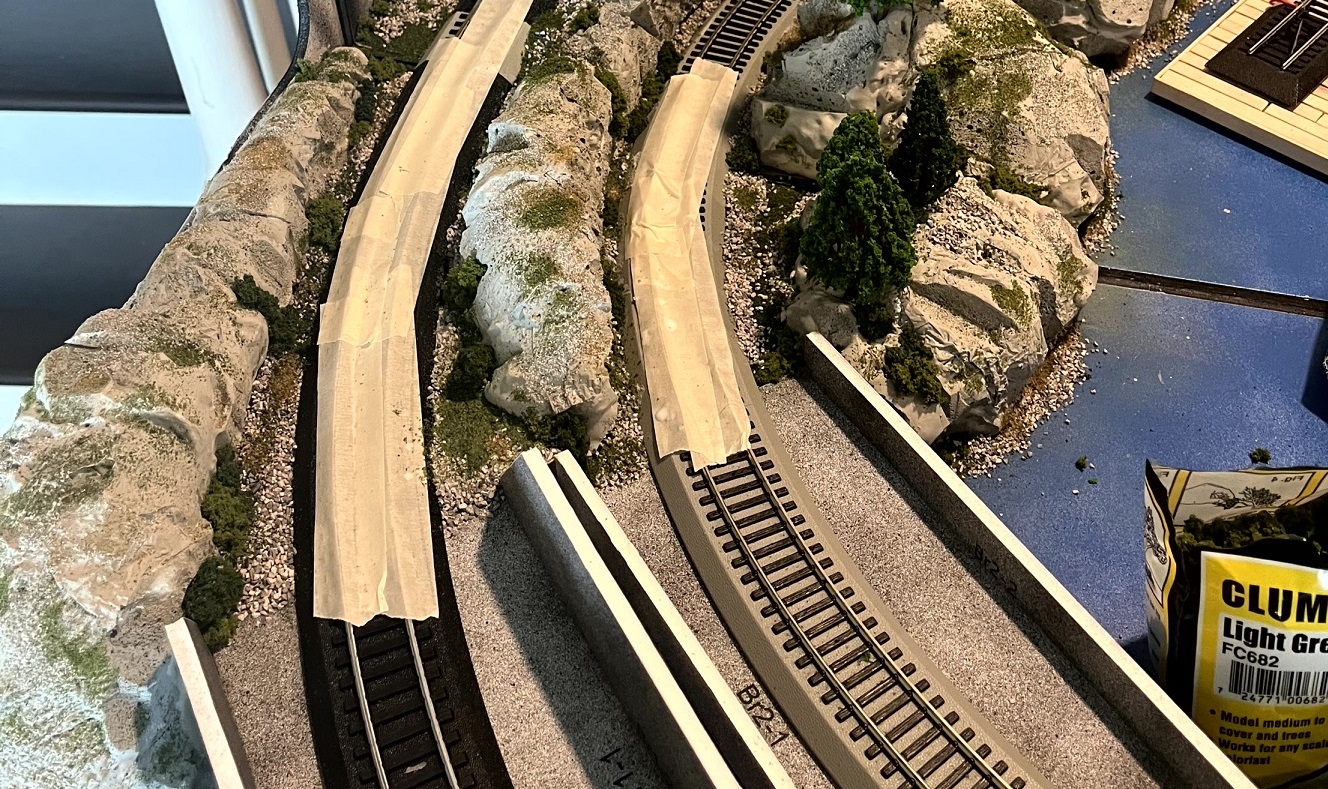
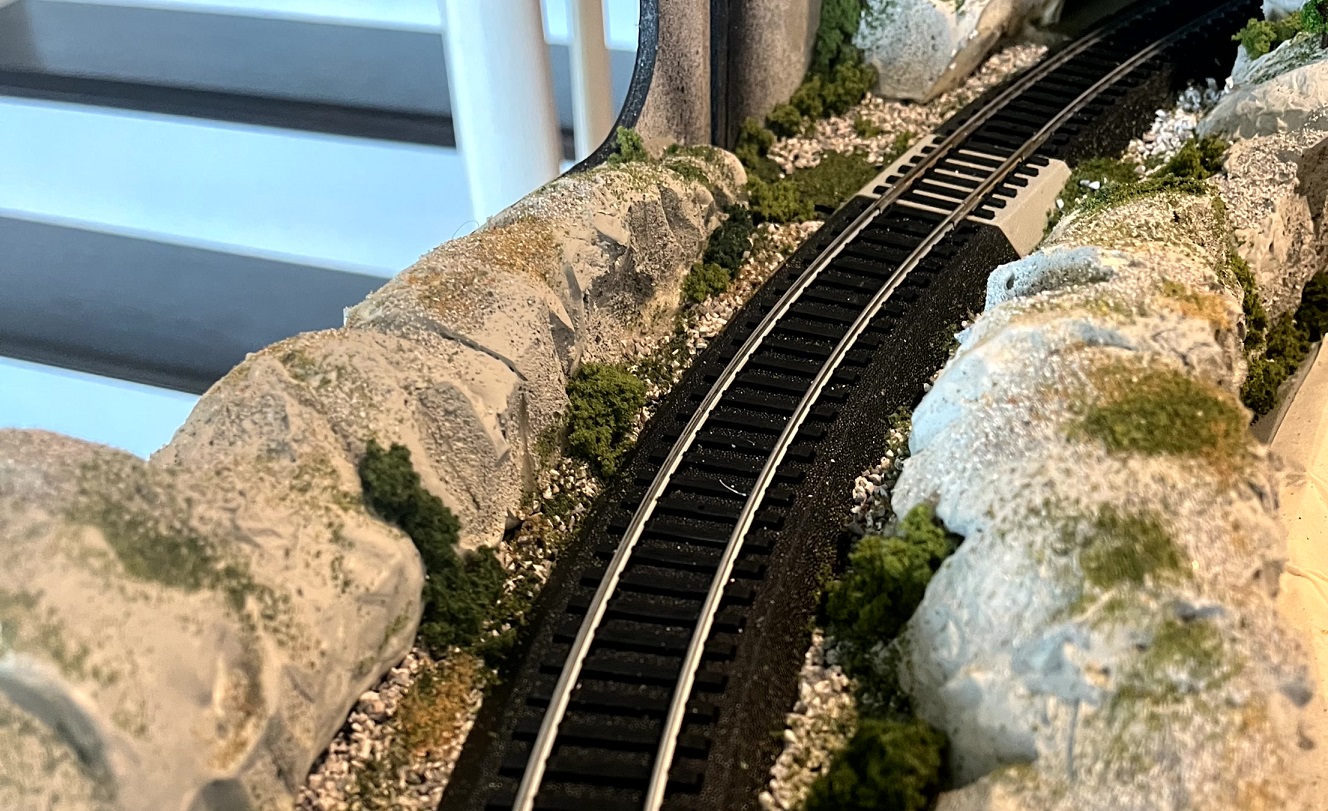
Here is a close up of the scenery details on the Main line showing the ballast, turf, and shrub details.
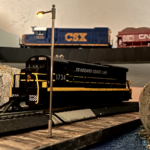
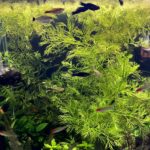
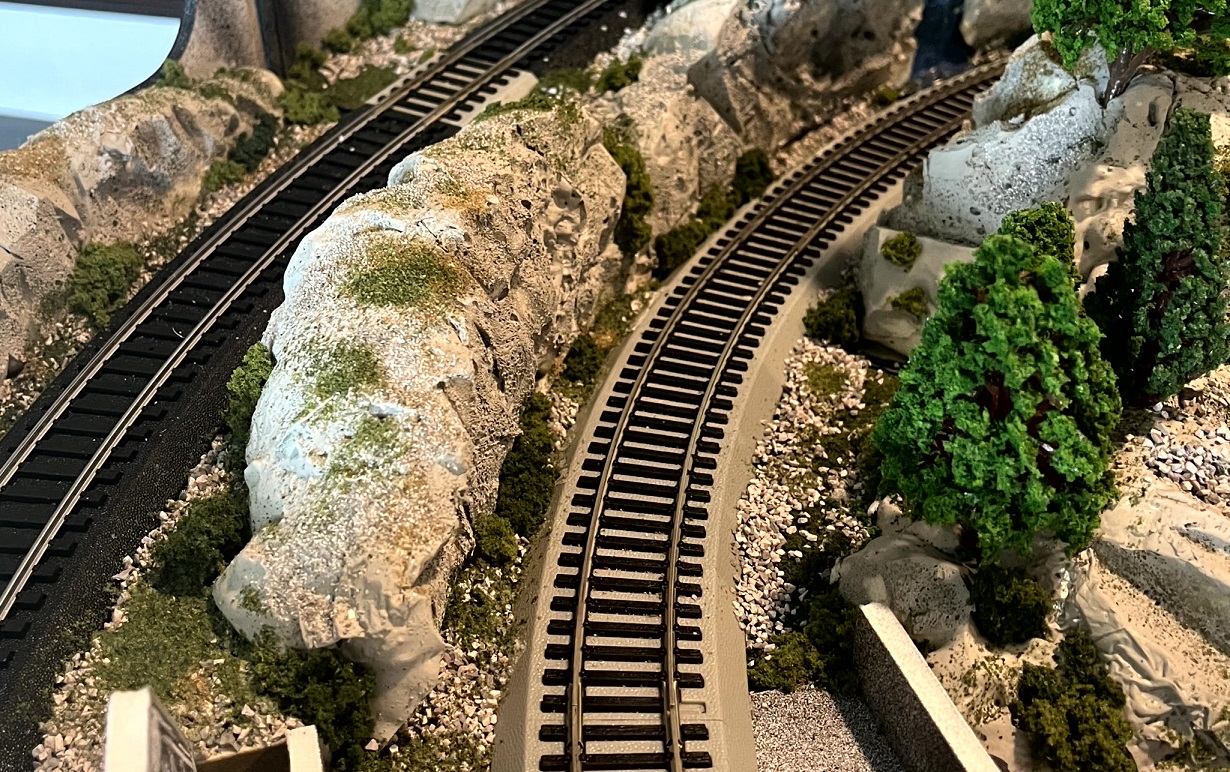
This is a close up of the scenery details on the Sodor line.
Finally we add trees by just sticking them into the spray foam.
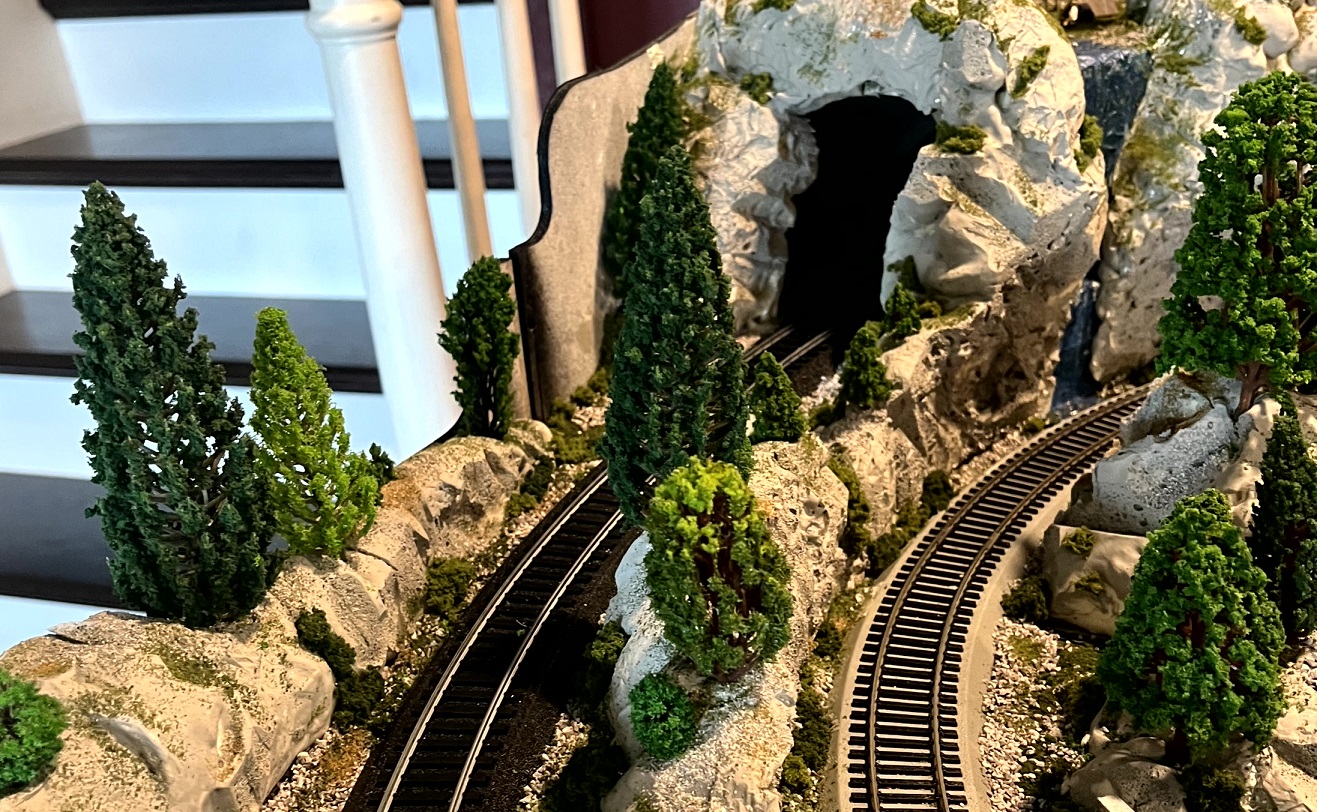
The trees are not glued in so we can move them around some if we want.
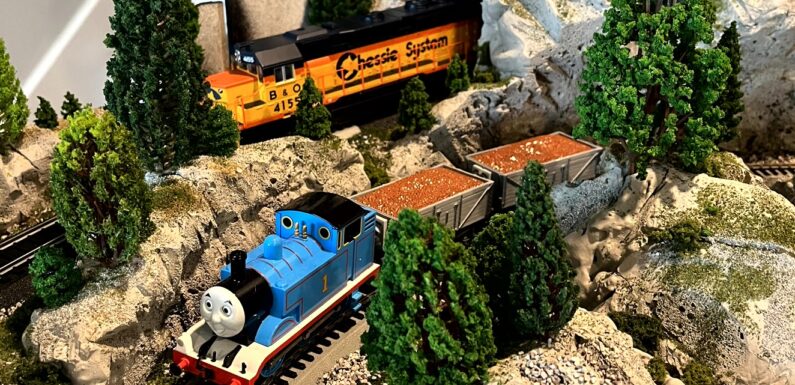
It is really neat to see how the scenery starts to come alive as you add the layers… spray foam, to paint and texture, to ballast, to turf, to bushes, and trees.
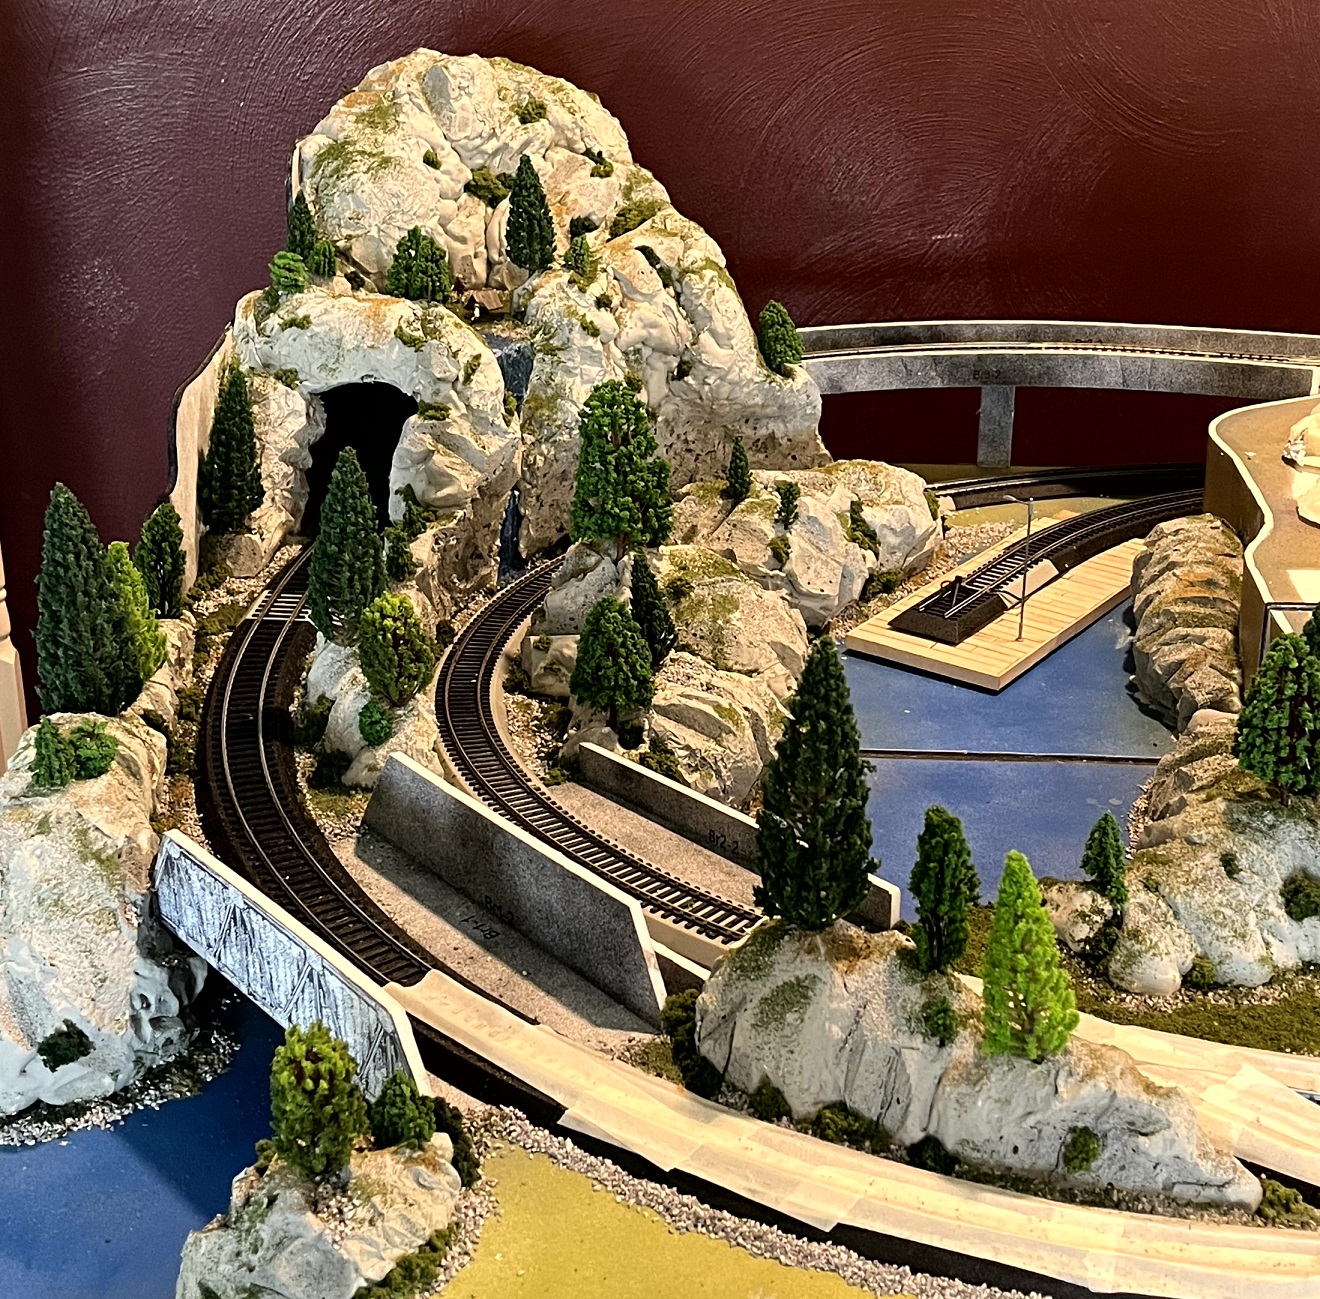
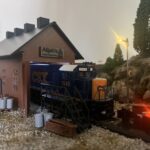
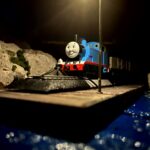
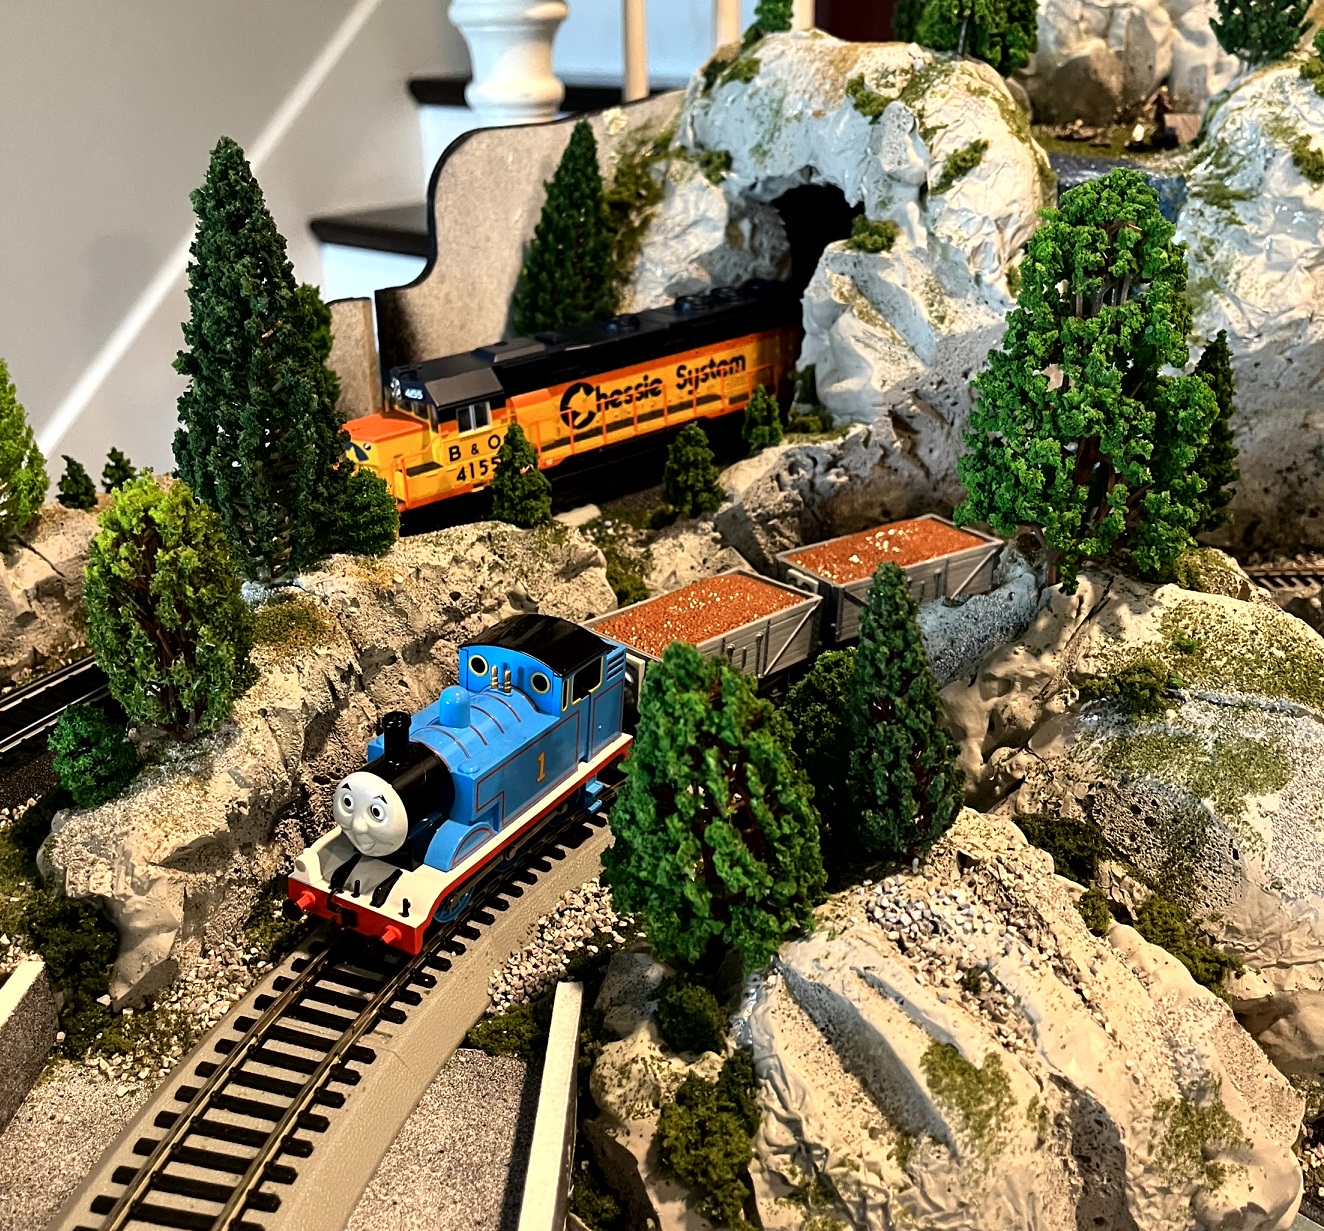
Chessie and Thomas enjoying the new scenery.
Next we will probably tackle the riverbed which crosses from module D to module C.


